
If you’ve ever walked onto a putting green and noticed little craters or scars scattered across the surface, you’ve seen the result of un-repaired, or improperly repaired, ball marks. These blemishes not only make the green look messy, but they can also affect the roll of putts for everyone in the group behind you.
Fixing a ball mark is one of the simplest ways golfers can show respect for the course and their fellow players. Yet, it’s often overlooked or done incorrectly, which can actually make the damage worse. For beginners, learning how to properly repair a ball mark should be considered just as essential as learning how to fix your grip or line up a putt.
Why Fixing Ball Marks Matters

When a golf ball lands on the green, especially from a higher trajectory shot, it often leaves an impression in the turf. If this mark isn’t repaired, it can take weeks to heal naturally. During that time, the spot may turn brown, become rough, and create bumps that deflect putts off line.
On the other hand, when a ball mark is repaired correctly, the green can recover in just a day or two. It’s a small action that makes a big difference: smoother greens, healthier turf, and a better experience for everyone who plays after you.
Tools You’ll Need
The good news is that fixing a ball mark doesn’t require much. Most golfers carry one of these tools:
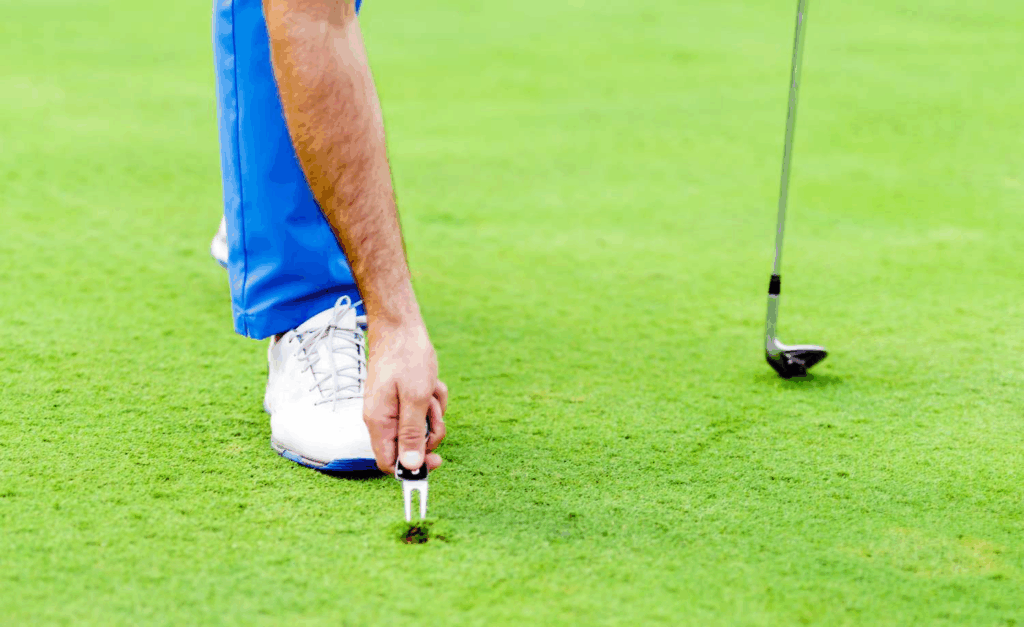
- Divot repair tool (pitchfork): The most common and effective option, usually with two prongs.
- Tee: In a pinch, the tip of a golf tee works almost as well.
No matter which tool you use, the important thing is knowing how to use it properly.
The Correct Way to Fix a Ball Mark

Here’s the step-by-step process recommended by the USGA and golf course superintendents:
- Insert your tool at the edges of the ball mark. Place the prongs of your repair tool just outside the depression, angling them slightly toward the center.
- Push the turf inward, not upward. This is the most common mistake golfers make. They try to “lift” the depression by prying the center upward. That tears the roots and damages the grass. Instead, gently push the turf from the sides toward the middle of the mark. Work around the edges until the indentation is closed.
- Smooth with your putter. Once you’ve pushed the turf back together, gently tamp it down with the flat side of your putter to level the surface. The green should feel firm and smooth when you’re done.
That’s it. No digging, no prying. The entire process takes less than 20 seconds.
What Not to Do
Just as important as knowing the right method is avoiding the wrong ones. Here are a few common mistakes:
- Don’t dig or lift the center. This severs grass roots and can leave the spot dead for weeks.
- Don’t ignore ball marks. Even if your ball didn’t leave one, look around for another to fix. It’s good etiquette to repair your mark and at least one other while you’re on the green.
- Don’t walk past it. Remember, an un-repaired ball mark affects every group behind you.
Tips for Beginners
- Check the green as you walk on. You may not always see your ball land, so take a moment to look for your mark.
- Make it part of your routine. After marking your ball, fix your pitch mark before lining up your putt.
- Carry a repair tool. Keep one in your pocket, hat clip, or bag so you’re never without it.
A Simple Courtesy with a Big Impact
Golf is a game of traditions and respect, not just for opponents, but for the course itself. Properly fixing ball marks is one of the easiest ways to honor that tradition. It ensures greens stay smooth, healthy, and enjoyable for everyone.
So next time you step onto the green, take those 20 extra seconds. Fix your mark, maybe one more, and know you’ve done your part to leave the course better than you found it.