
Regripping golf clubs might sound intimidating at first, but once you’ve done it, you’ll realize it’s more straightforward than expected. It not only saves you money over time but also allows you to take control over the feel and performance of your clubs. Whether you’re replacing worn-out grips or trying something new, this guide will walk you through the entire process in simple terms.
What You’ll Need
Before you get started, gather the right tools and materials. Many of these items are available individually or as part of regripping kits.
- Utility knife with a hook blade (recommended for graphite shafts)
- Vise with a rubber shaft clamp
- Double-sided grip tape (either rolls or pre-cut)
- Golf grip solvent or substitute
- New grips of your choice
- Marker or pen
- Scissors
- Heat gun (optional but helpful for removing old tape)
- Towel or cloth
- Drip tray or waste bin
- Container or bag for old grips and tape
Once you have everything organized, you’re ready to get started.
Time Needed
If it’s your first time regripping, plan for about 10 to 15 minutes per club. Once you get the hang of it, you’ll be much quicker. If you’re regripping an entire set, set aside at least an hour or two so you can take your time and do it right.
Step 1: Set Up Your Work Area
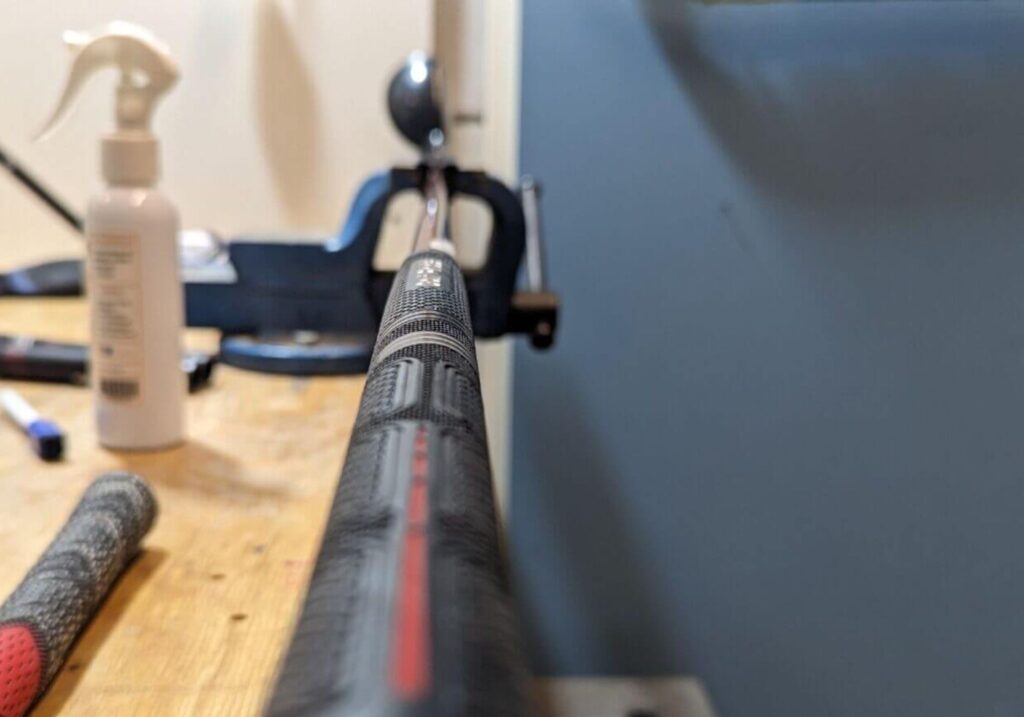
Choose a clean, well-lit space with a flat surface. Set up your vise and clamp to secure the shaft without damaging it. Lay out all your tools, have your new grips ready, and make sure the grip tape is within reach. Being organized will make the whole process go smoother and more efficiently.
Step 2: Remove the Old Grip
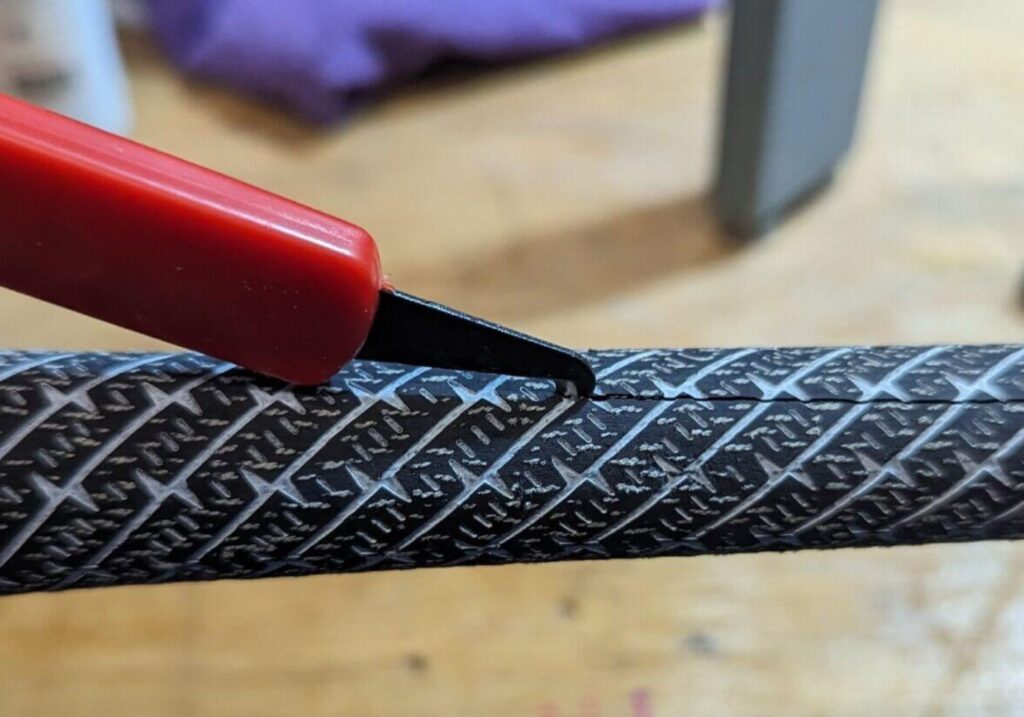
Use the hook-blade knife to cut through the grip. Start near the bottom and carefully slice toward the butt end of the shaft, cutting away from your body. The hook blade helps avoid damaging the shaft, especially with graphite.
You can do this while holding the club or with it secured in a vise. Once the grip is sliced, peel it off and discard it.
Note: Always be gentle with graphite shafts to avoid scratches or internal damage. Avoid using a straight-blade knife which increases the risk of cutting into the shaft.
Step 3: Remove Old Grip Tape
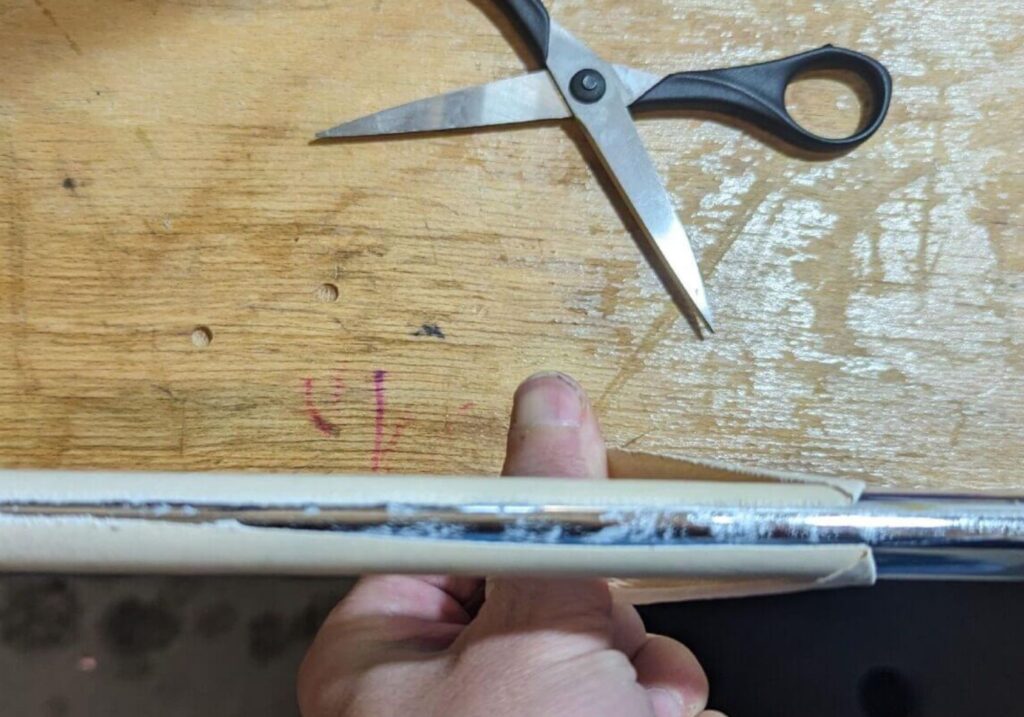
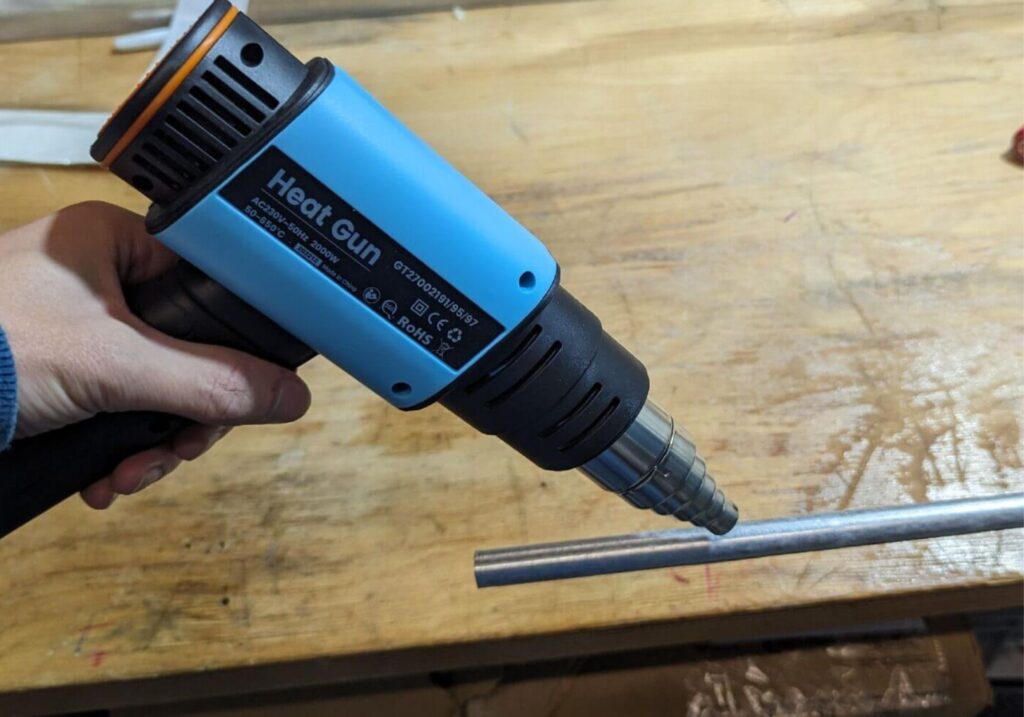
Removing the old tape can be the most tedious part of the job. If you have a heat gun, this is the time to use it. Heat the tape gently and evenly to soften the adhesive. Slowly peel away the tape using your hands or a grip tape scraper.
Avoid overheating the shaft. Excess heat can weaken graphite and warp steel. Take your time and remove as much tape as possible for a clean, even regrip.
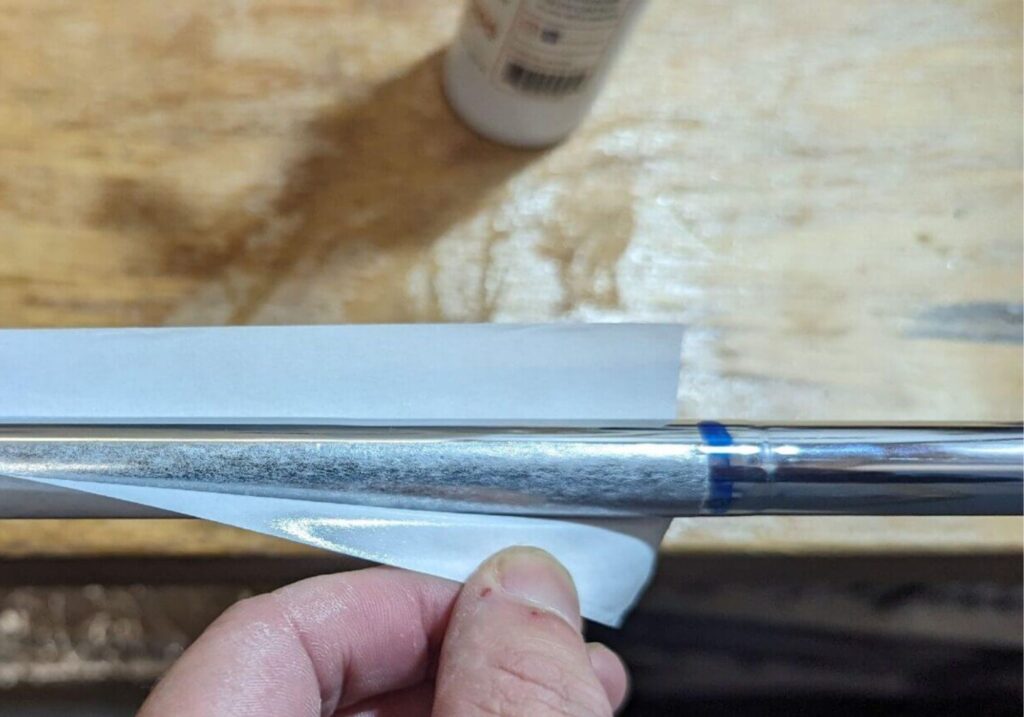
Step 4: Apply New Grip Tape
With the shaft in the vise, make sure the clubface is square. Mark the length of the new grip on the shaft using a pen or marker.
Apply the grip tape so that it runs straight along the shaft. If using a roll, cut it to length and leave about half an inch of tape hanging over the butt end. Twist that excess tape into the shaft to seal the end and prevent moisture from getting in.
Smooth out any air bubbles or wrinkles to ensure an even grip application.
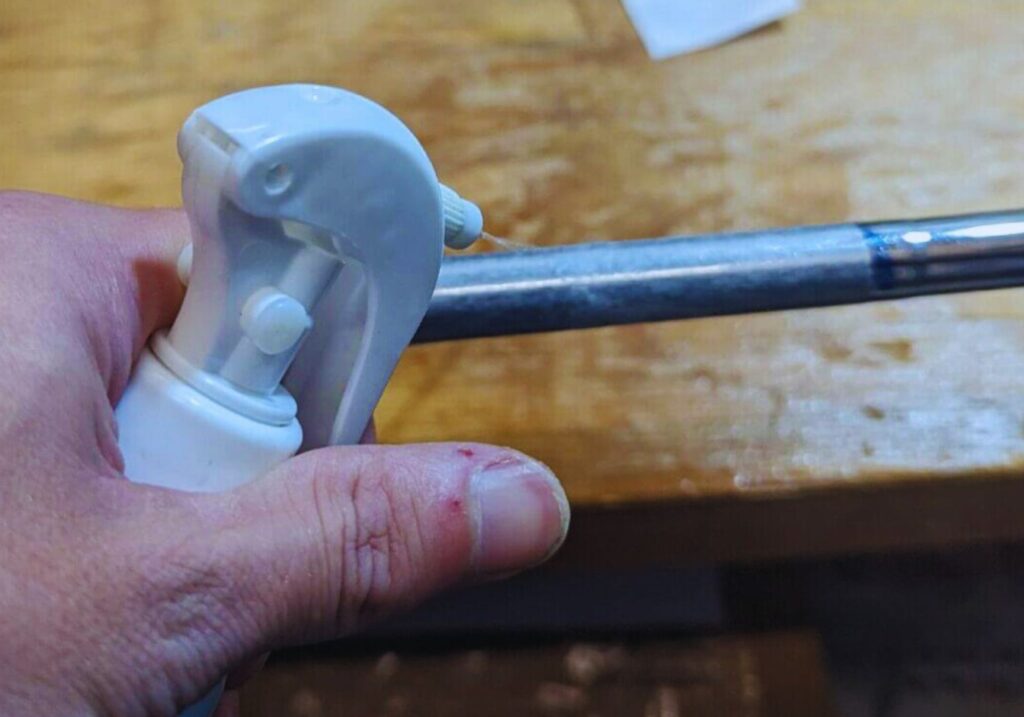
Step 5: Apply Solvent and Install the Grip
Spray solvent inside the grip and across the entire surface of the grip tape. Shake the grip to spread the solvent and pour any excess down the taped shaft. This helps the grip slide on easily.
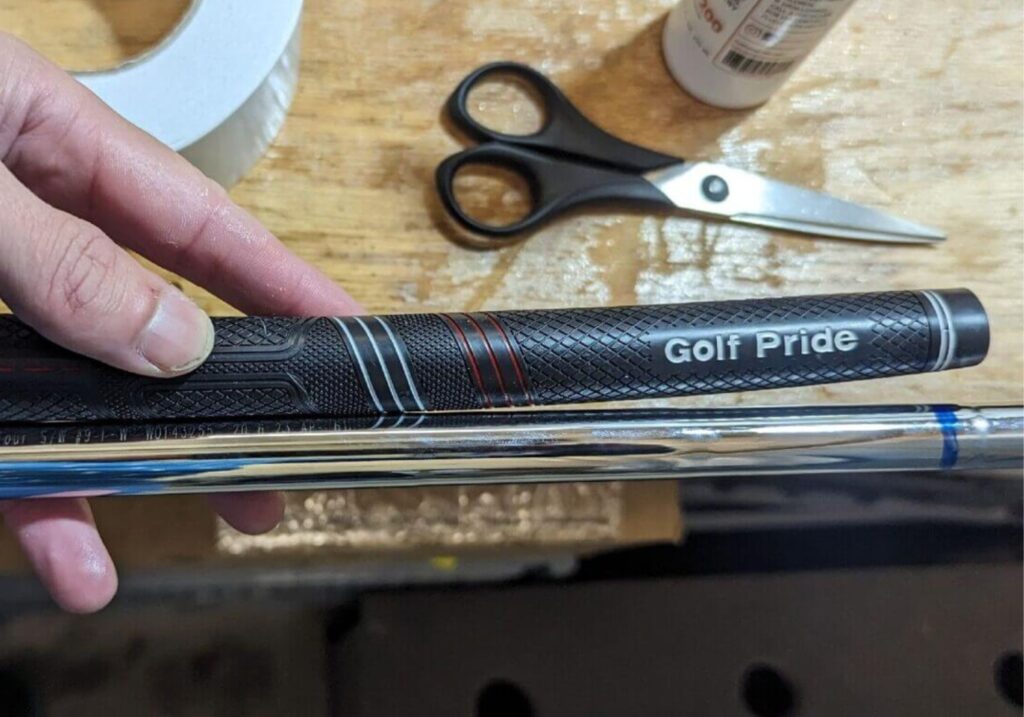
Line up the grip with the shaft and push it on in one motion. Stop when the grip reaches the end of the tape and sits snugly at the end of the shaft. Make alignment adjustments immediately while the grip is still wet and movable.
Quick Tip: If the grip stops partway or goes on crooked, you can remove it with compressed air or a grip removal tool. If needed, you can cut it off and try again.
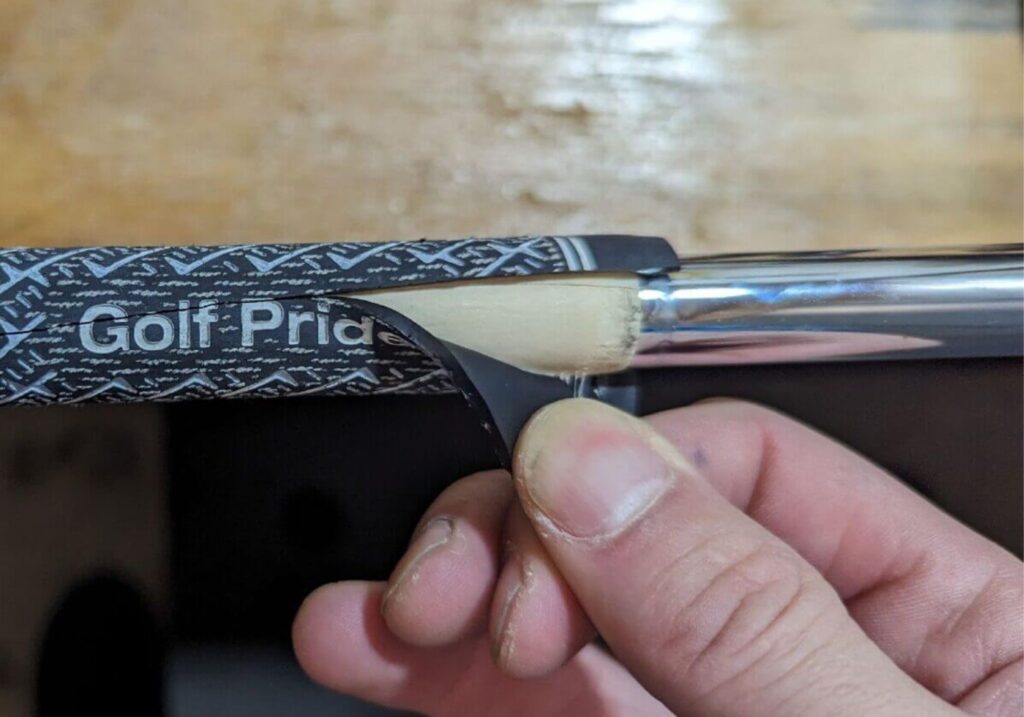
Step 6: Final Touches
Tap the grip lightly on the floor to shake out any remaining solvent. Wipe the grip and shaft with a towel and let the club dry in a cool, dry space. Keep the grip pointing downward while drying to allow excess liquid to drip out.
Let the club rest for at least 15 minutes before using it. For best results, wait a few hours before taking it to the range or course.
Extra Tips for Better Results
- Work slowly and deliberately, especially on your first few grips.
- If grip solvent is unavailable, you can use mineral spirits, lighter fluid, or even soapy water. Be sure to dry the tape thoroughly before installing the grip.
- Putter grips often require more solvent due to their size and rigidity. Be patient.
- Grip sizing matters. Standard, midsize, jumbo, and undersize grips all impact feel. You can also add layers of tape to fine-tune grip thickness.
- Regularly clean your new grips with warm water and a nylon brush to extend their lifespan.
Budget Breakdown
If you’re new to regripping and need to buy tools, expect to spend around $50 for a basic starter kit. A vise setup, grip tape, and solvent will add to the total, but you won’t need to buy these items again for a long time.
The only ongoing cost is the grips themselves. Compared to paying a shop, you can save a significant amount each season by doing your own regripping at home.
Final Thoughts
Regripping is not just a way to save money. It gives you hands-on experience with your equipment and lets you customize your gear to match your preferences. Whether you’re trying different textures, sizes, or styles, regripping is one of the easiest and most impactful DIY projects in golf.
Take your time, follow the steps, and don’t worry if it’s not perfect on your first try. You’ll get better with each club and may even start looking forward to regripping day. After all, there’s something satisfying about building confidence one grip at a time.
2 Comments
Another lesson learned is the inside diameter of the grips. Most used in the medium grip is 0.58. Because I have slightly shorter fingers, I use a 0.60 which is between a regular and undersized grip.
The second bullet under extra tips says “Be sure to dry the tape thoroughly before installing the grip.” This is wrong, the tape must me wet & slippery to install the grip. Otherwise the grip is likely to get stuck partway installed resulting in a ruined grip.